Manage VMs
This document explains how to manage VMs that have been created, including viewing VM details and monitoring.
View VM Details
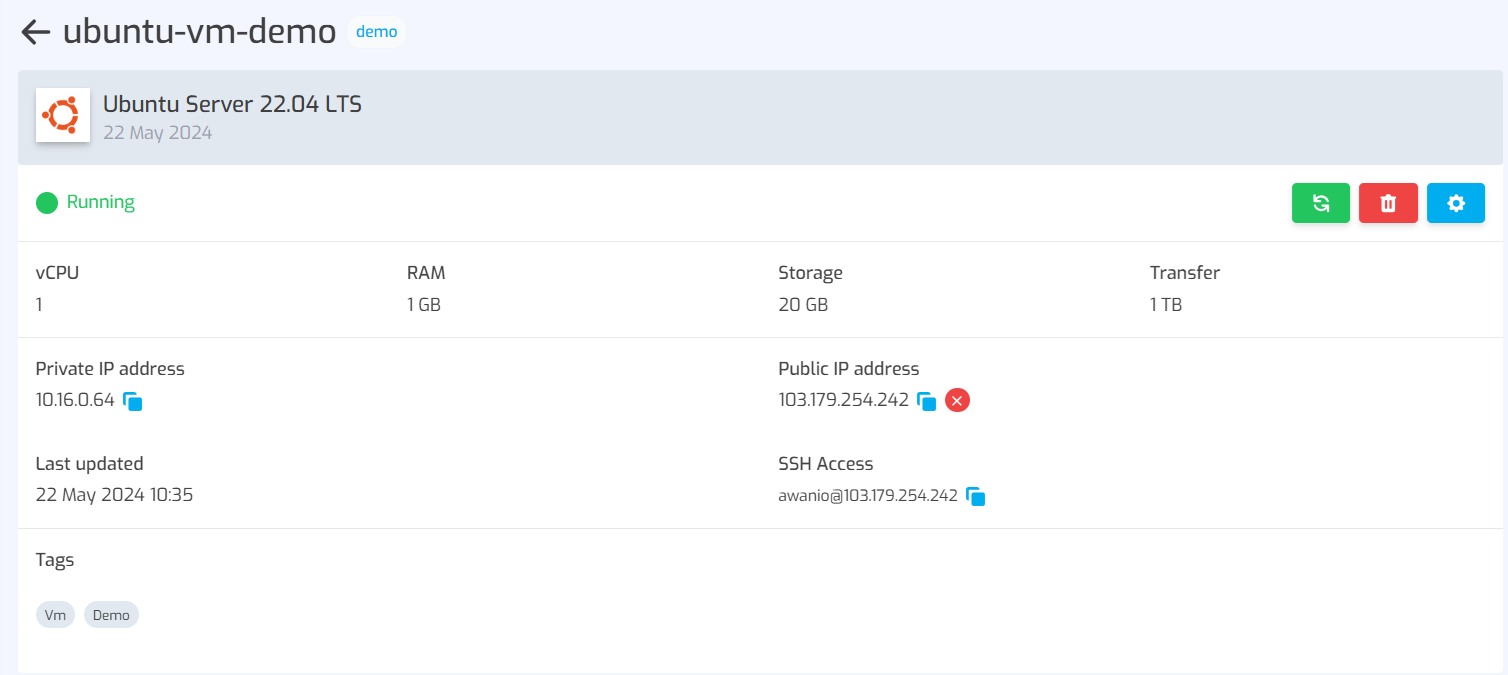
To view VM details and make changes, click on the VM name or go to the action menu on the data and select View details.
The VM details page presents data including:
- VM name
- VM status
- VM specifications - number of vCPUs on the processor, memory capacity, storage and transfer capacity.
- General information - private IP address, public IP address, SSH access and last updates
- Tags

Add or remove public IP
VMs that already have a public IP can delete (detach) their public IP by clicking the delete icon (x sign) in the Public IP address section.

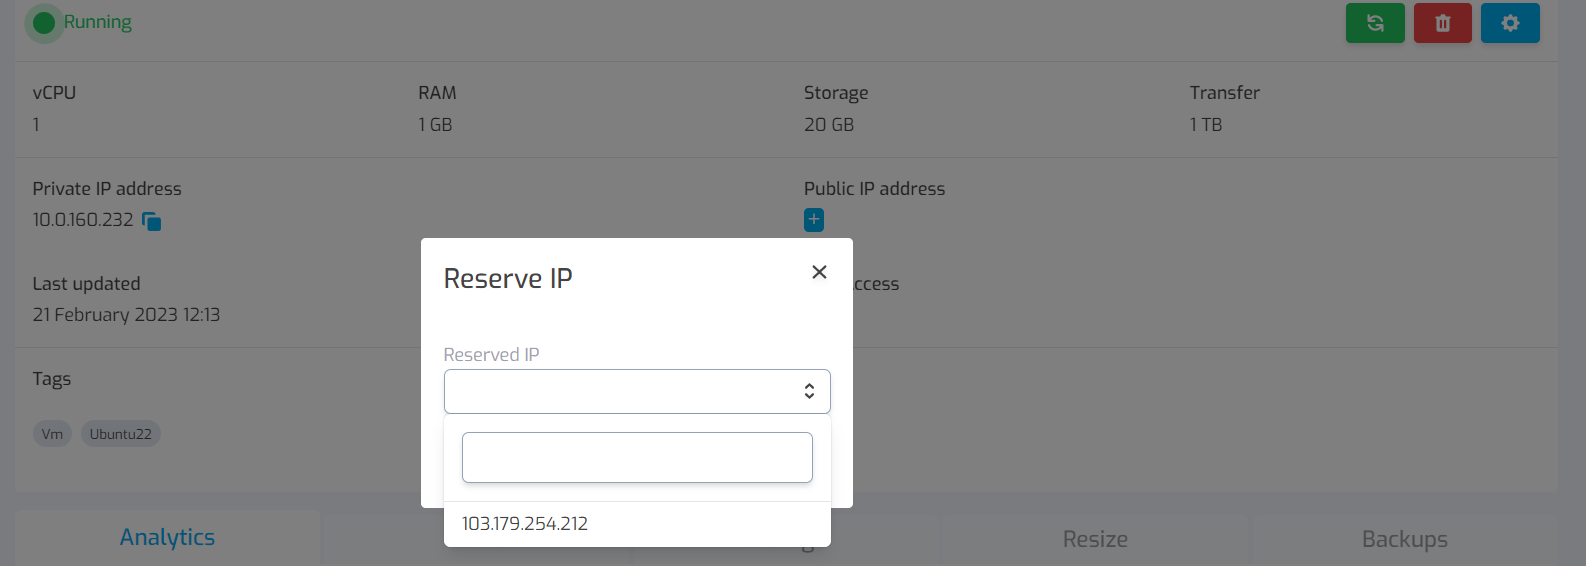
Meanwhile, if you don’t have a public IP but want to add (attach) click the + icon. The IP address added is taken from the list of reserved IP addresses, so you must add the reserved IP address first.

Monitoring VM usage in chart form
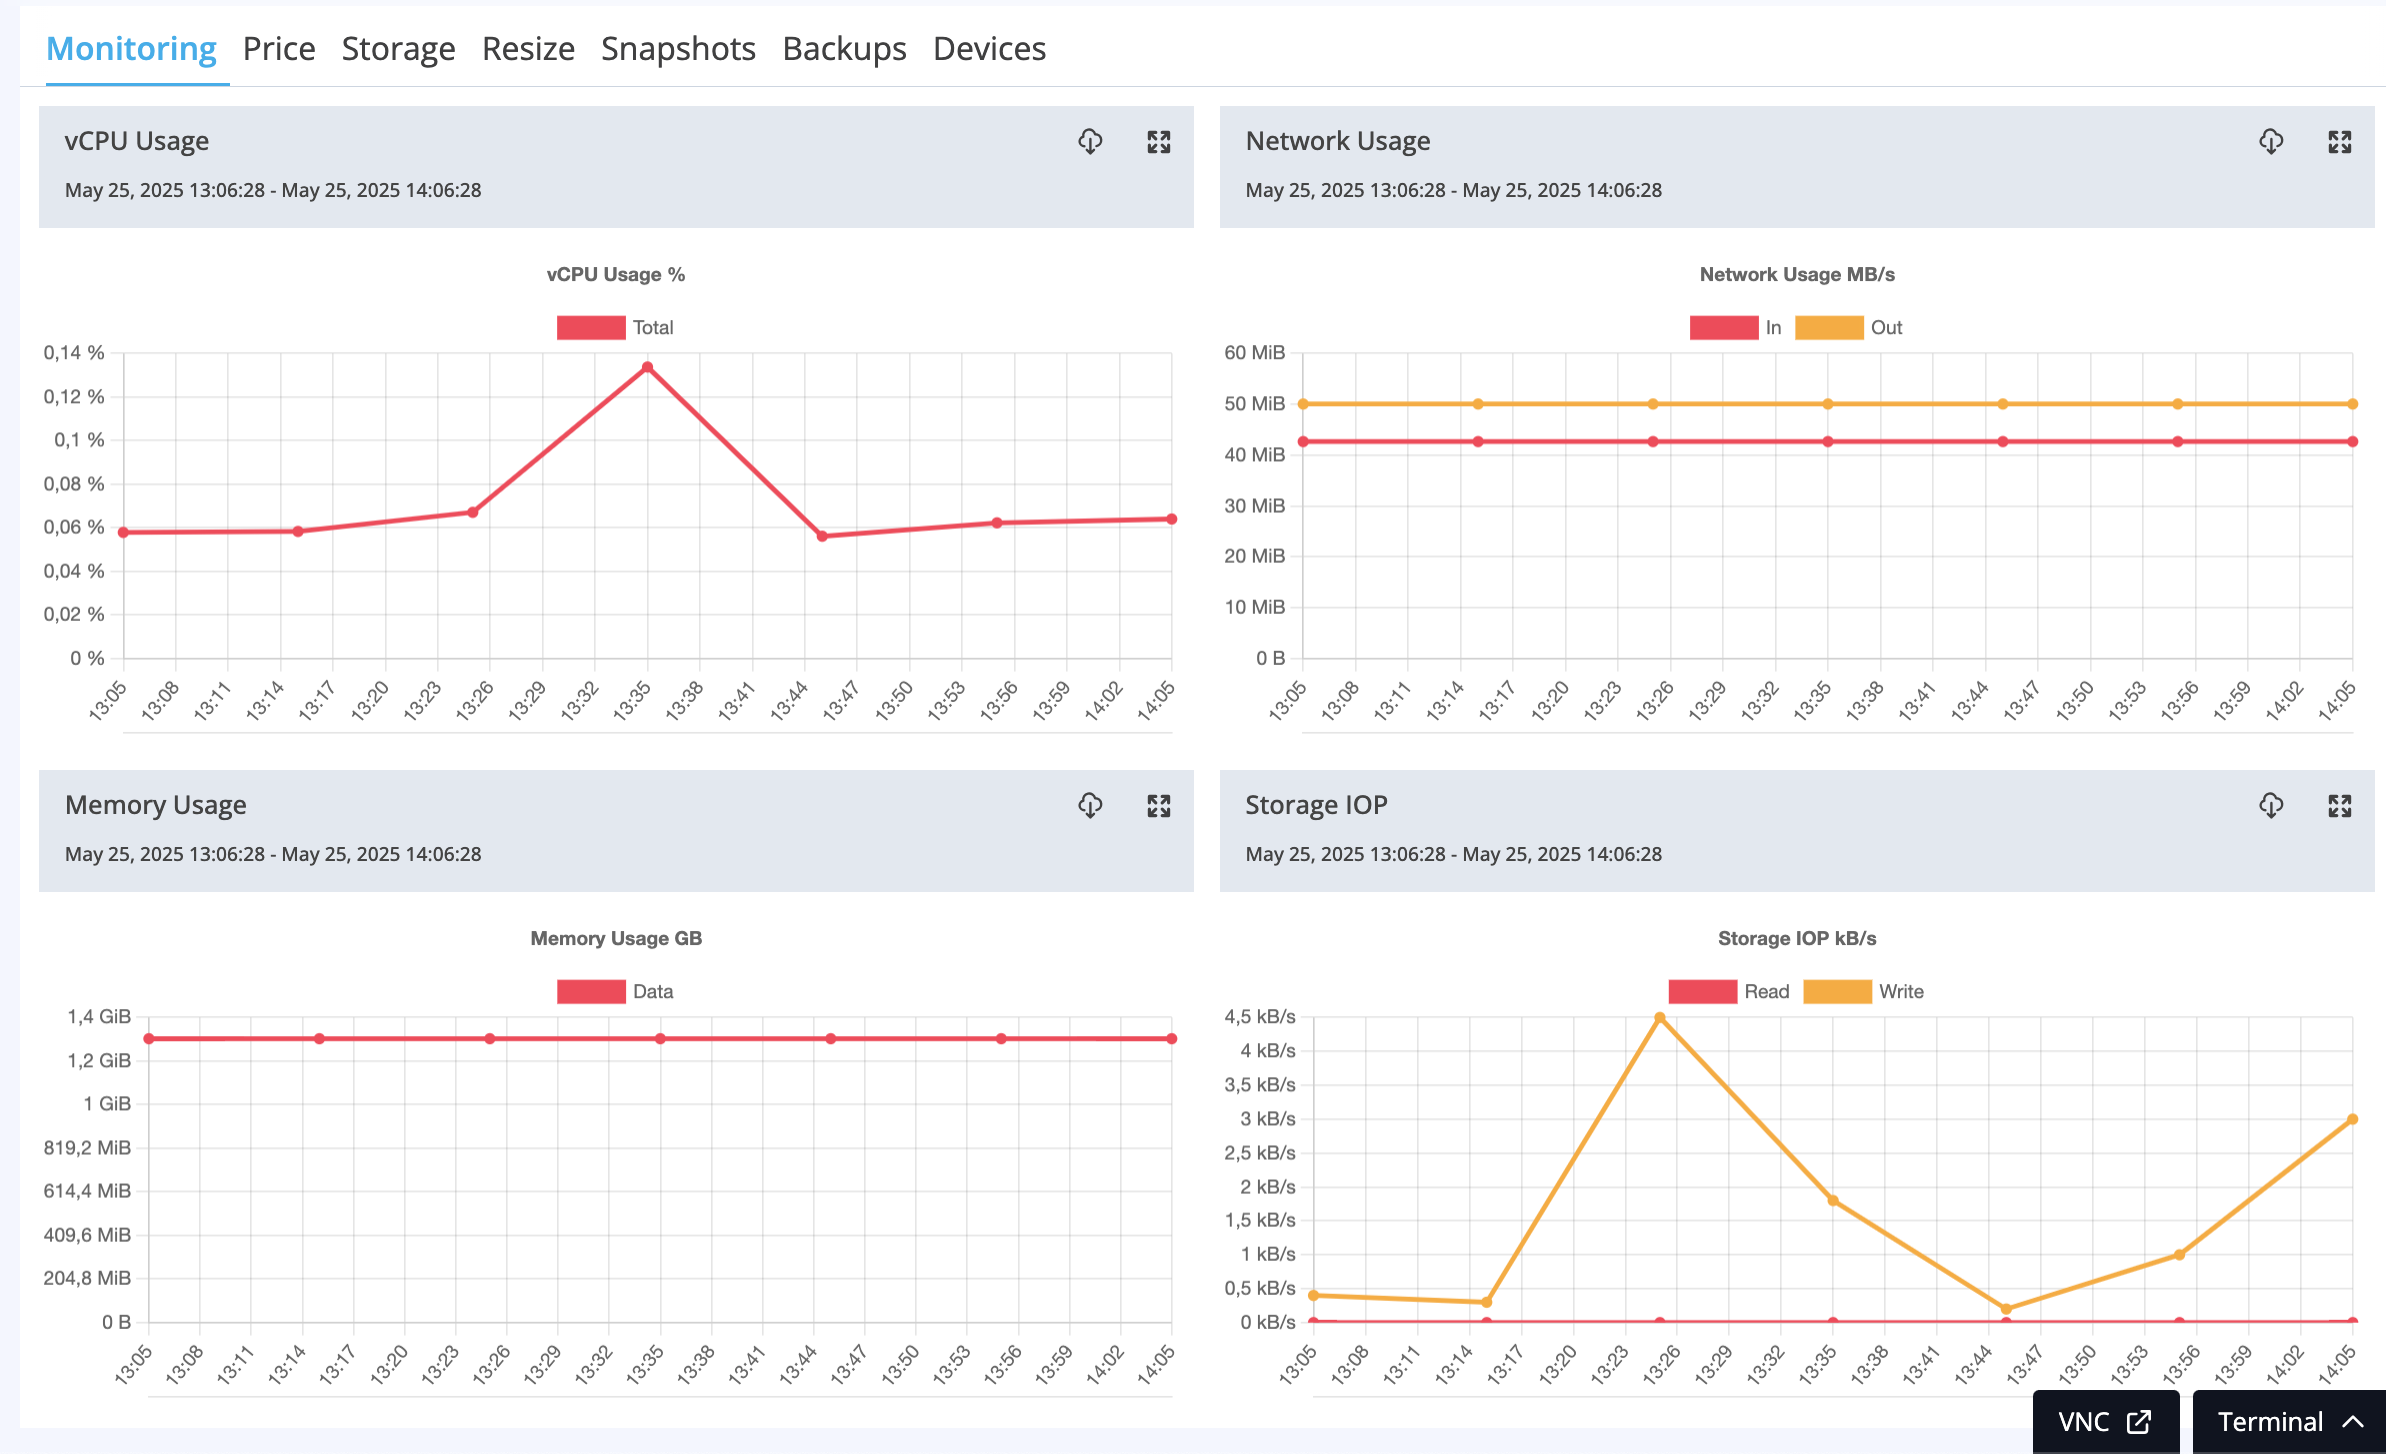
There are 4 VM usage charts in the last 1 hour on the Monitoring tab:
- vCPU usage (vCPU usage)
- Network usage (network usage)
- Memory usage (memory usage)
- Storage IOPS (storage input output operations per second)
Charts can be downloaded as SVG or PNG.

Disc details
The Storage tab on the VM details page displays boot disk data and additional volumes (if any).
On the Boot Disk, you can change the name (rename). Meanwhile, for volumes (additional disks), there are 2 actions you can take, namely changing the name (rename) and removing the disk from the VM (detach from compute).
Resize VMs
You can upgrade/downgrade VM specifications on the Resize tab. Change the VM specifications according to your needs, the price will adjust to custom pricing, which will be calculated per vCPU, MB RAM and GB storage (boot). For vCPU and RAM, you can upgrade and downgrade, while for storage you can only upgrade, with the maximum permitted storage value being 500 GB, you cannot downgrade (reduced from the current capacity). If you want to save changes to the specification data, click the Update button.
Snapshots
The Snapshots tab displays snapshot schedule and data for the related VM, both those created on a scheduled basis (automatically according to the backup schedule) and unscheduled (the user creates a snapshot).
Backup
The Backups tab displays backup schedule and data for the related VM.
Devices
The Devices tab displays any device connected to the VM.