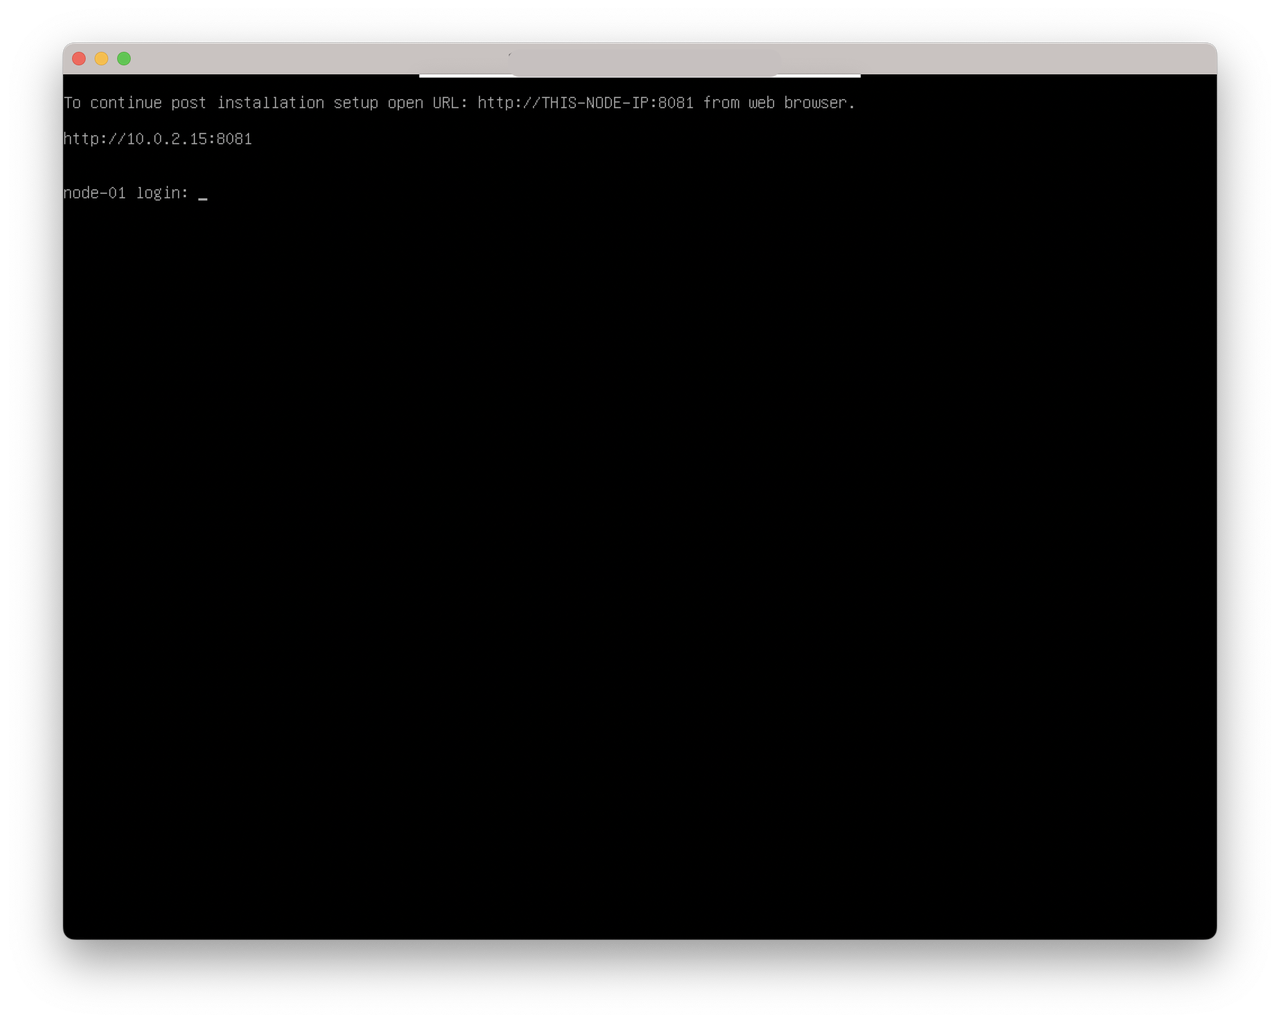
AwaniOS
To install AwaniOS, you need to download the ISO file from Awanio Customer Portal Web. Once you download the ISO file, you have to copy the ISO into USB and make it bootable. These are the steps to create bootable USB from ISO file https://linuxconfig.org/how-to-make-a-bootable-usb-from-an-iso-in-linux
When the USB is ready, you need to configure the server as follows:
- Data on your hard drive of your server will be overwritten during the installation process. Therefore, make sure that the hard drive data is backed up.
- Enter BIOS, and enable CPU VT and hyper-threading (HT).
- Enter the RAID controller and configure the RAID levels to provide data redundancy.
- Set USB drives as the first device to boot in the boot sequence.
- AwaniOS only supports UEFI boot mode. For this, you need to make sure your BIOS supports it.
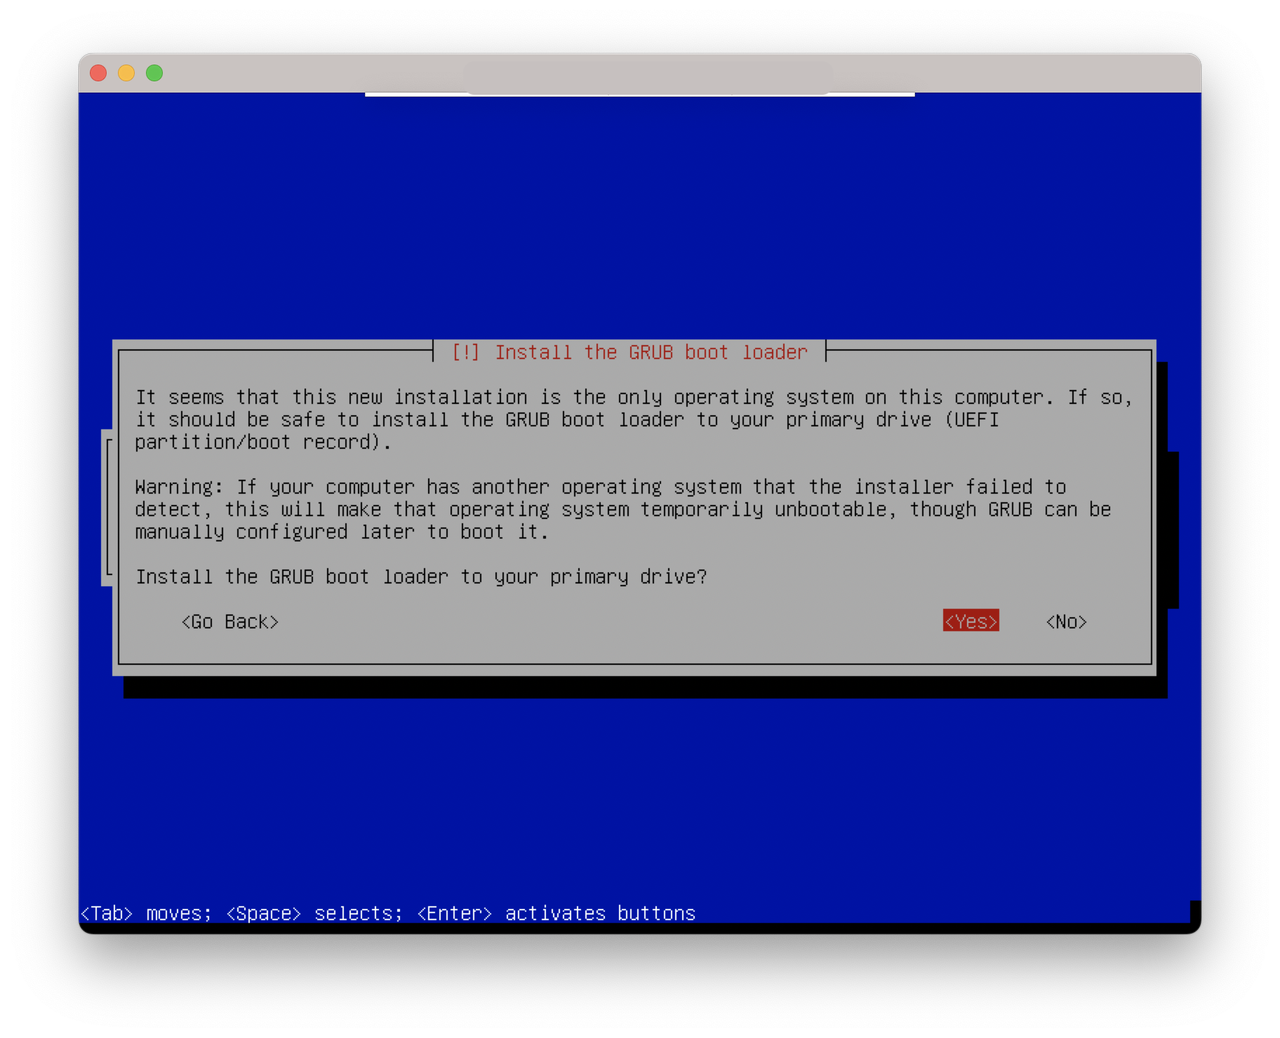
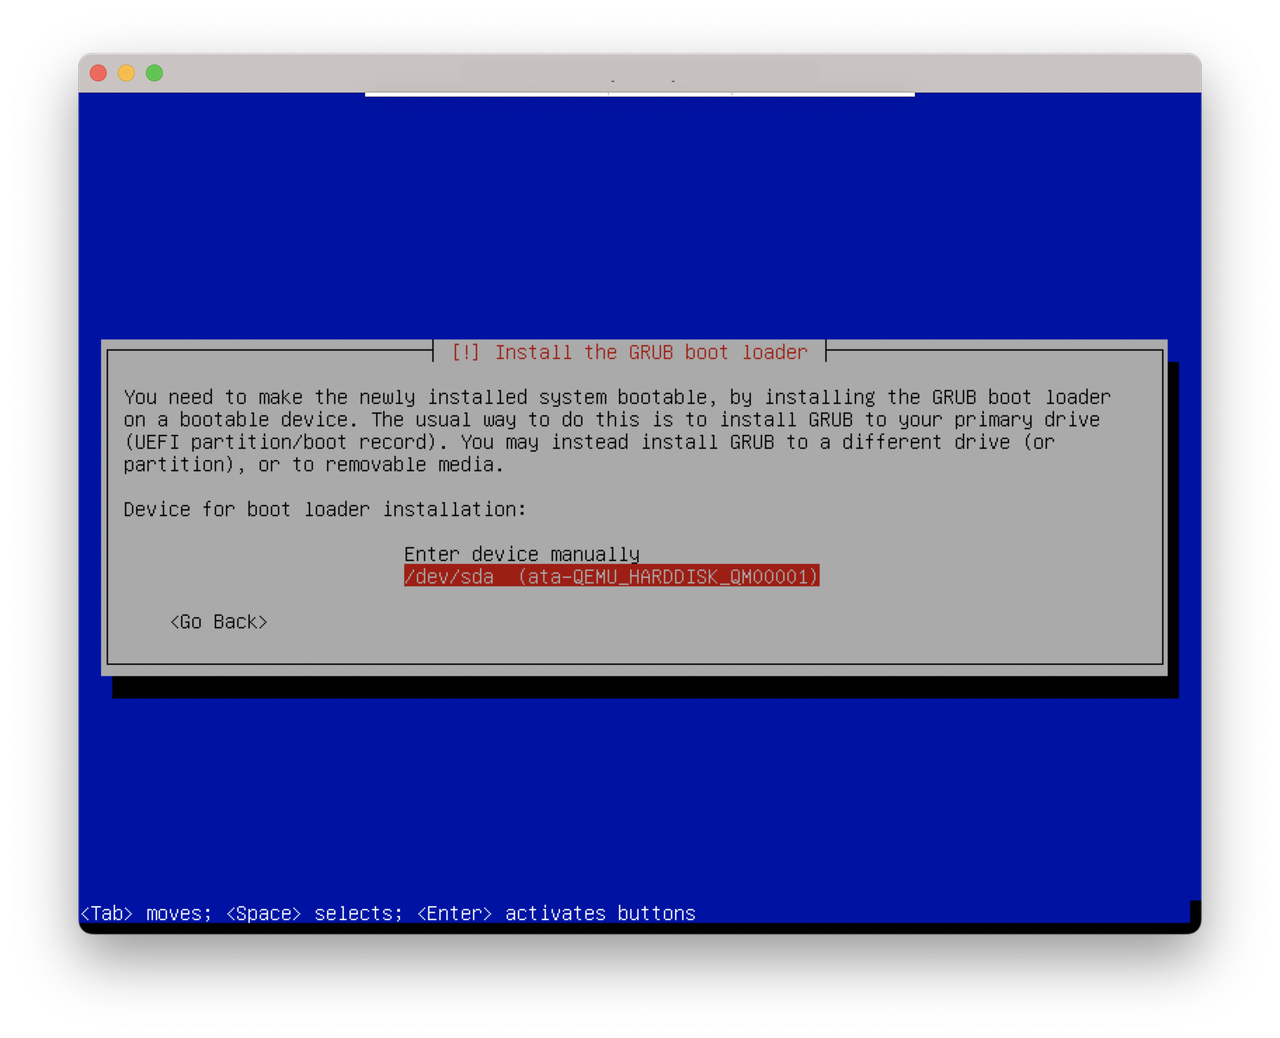
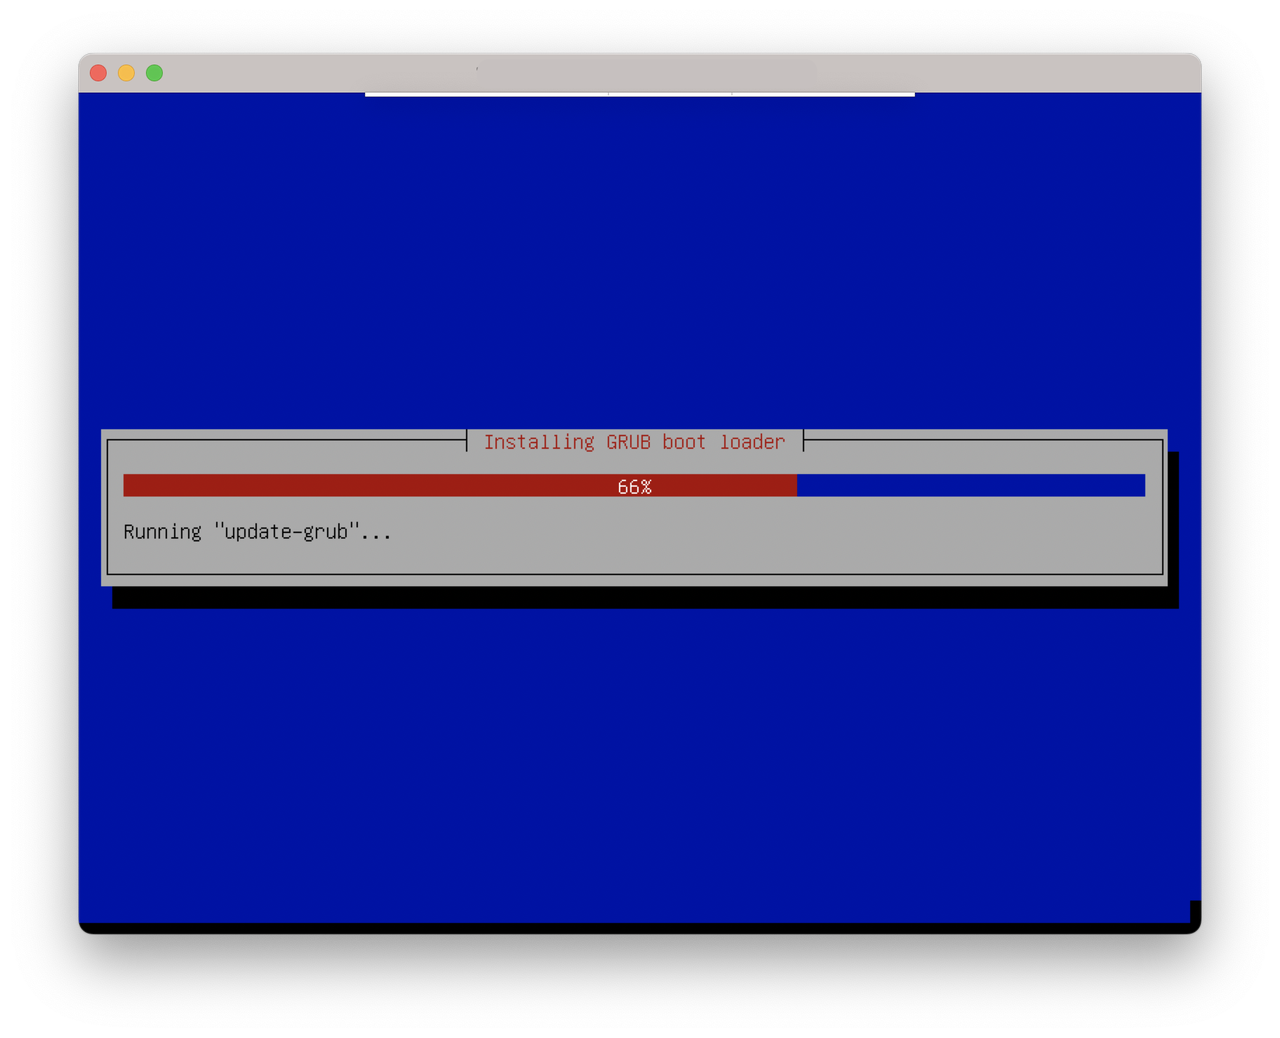
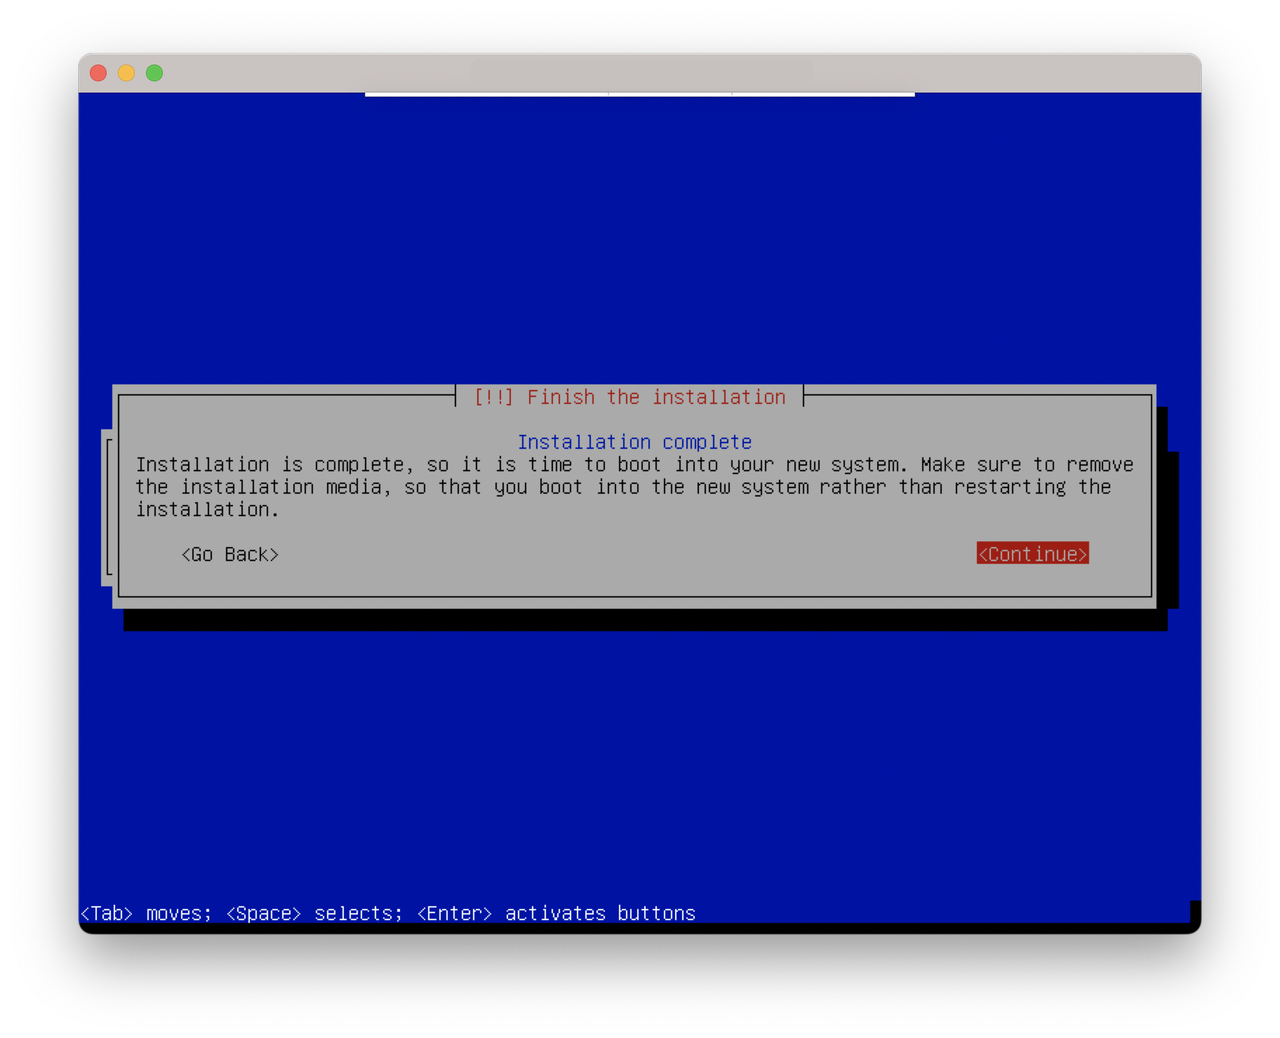
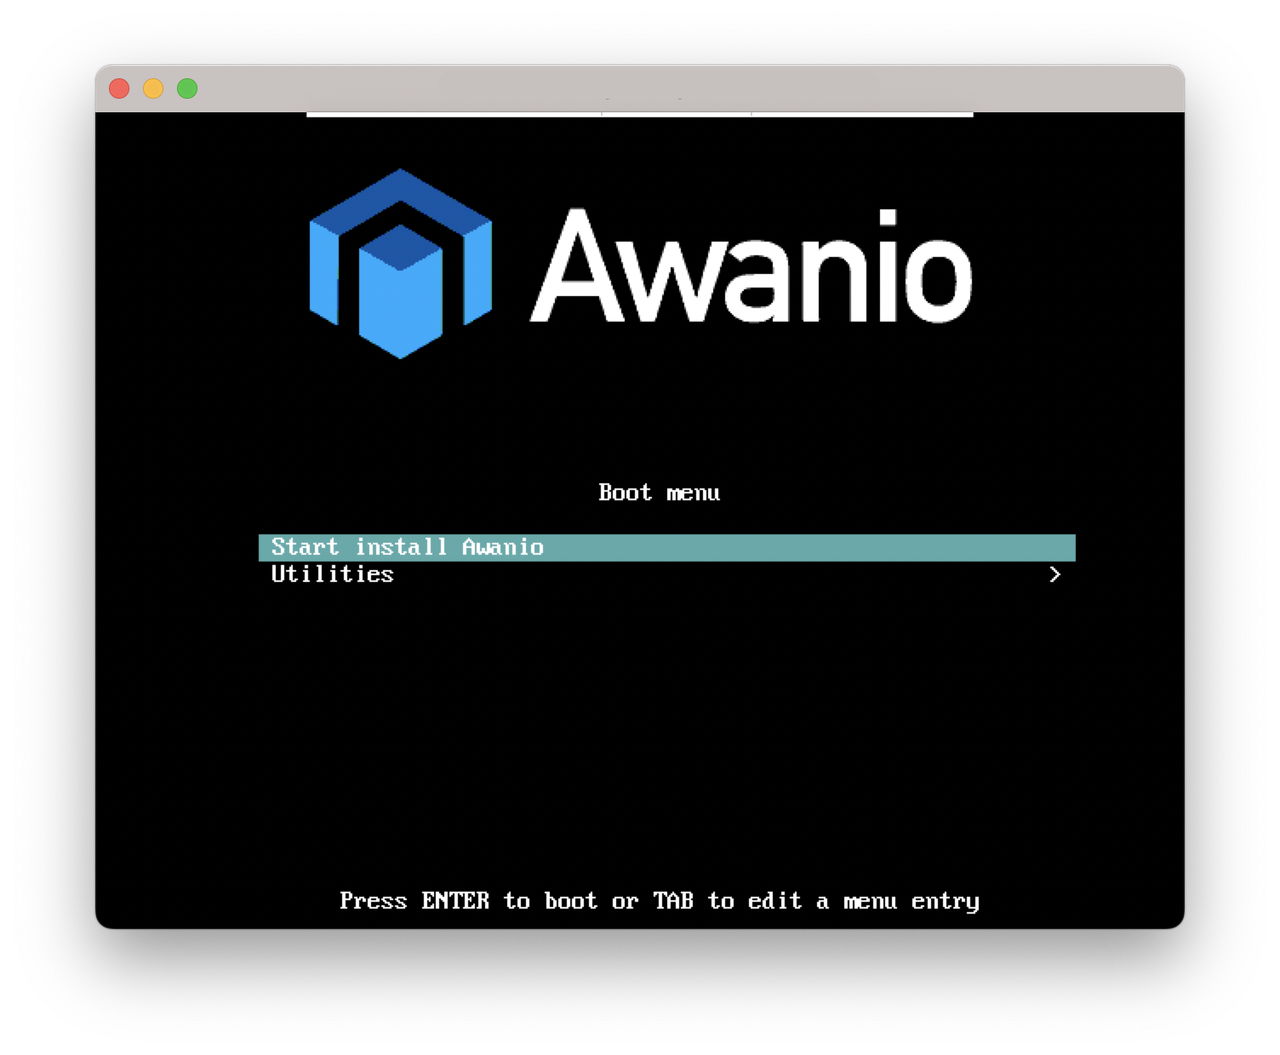
After you complete the preceding configurations, reboot or power on the server, and enter the installation wizard. On the ISO installation page, the Start Install Awanio option is selected by default, and then the operating system starts to install, as shown below.
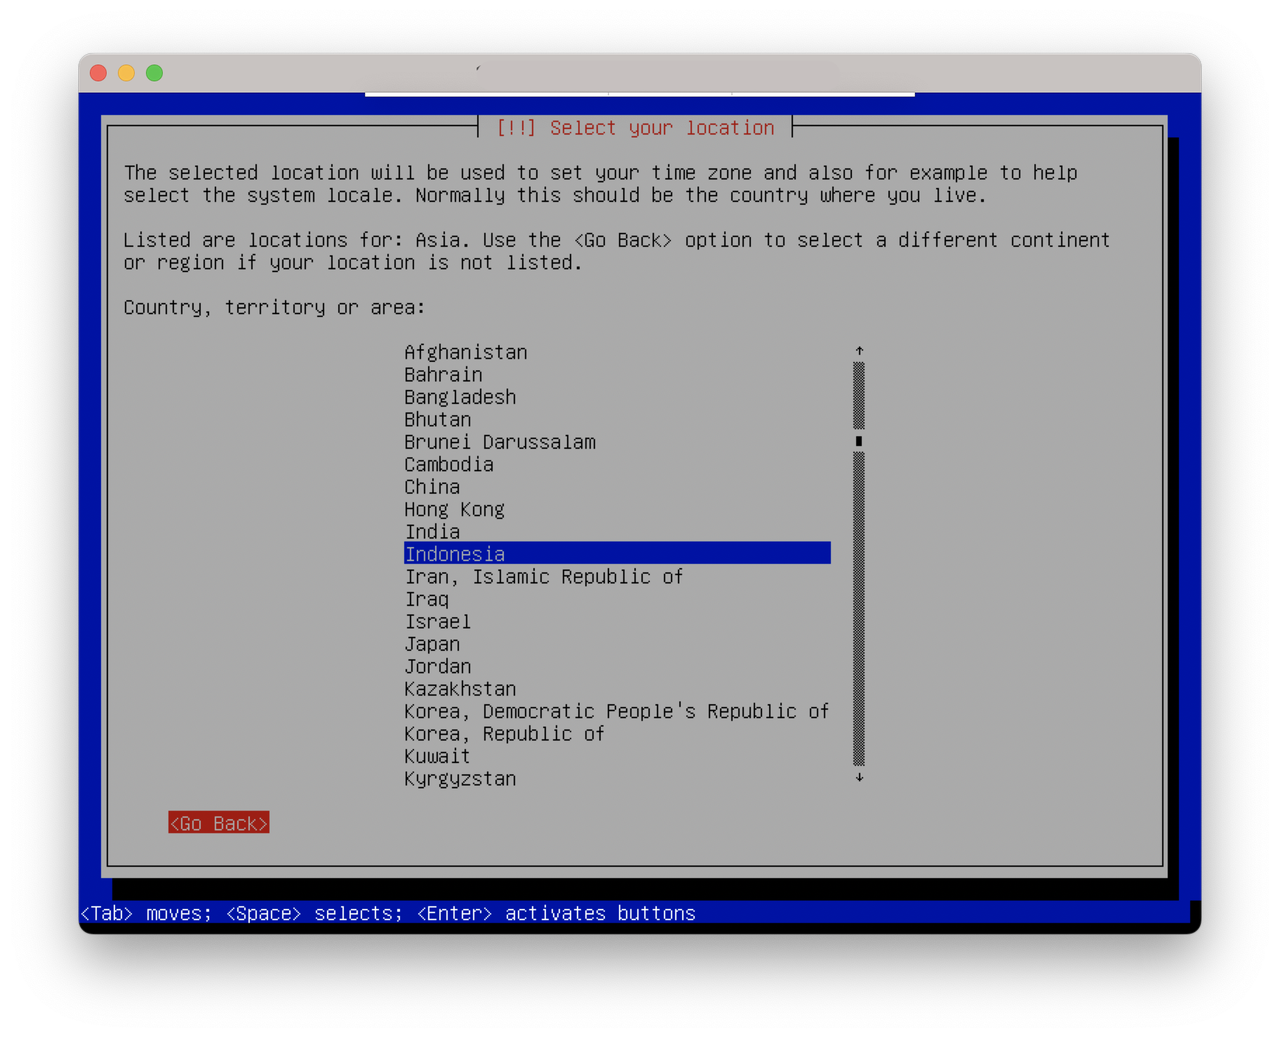
Define your location and timezone. This also provides some choices like keyboard layout, time and date formats.
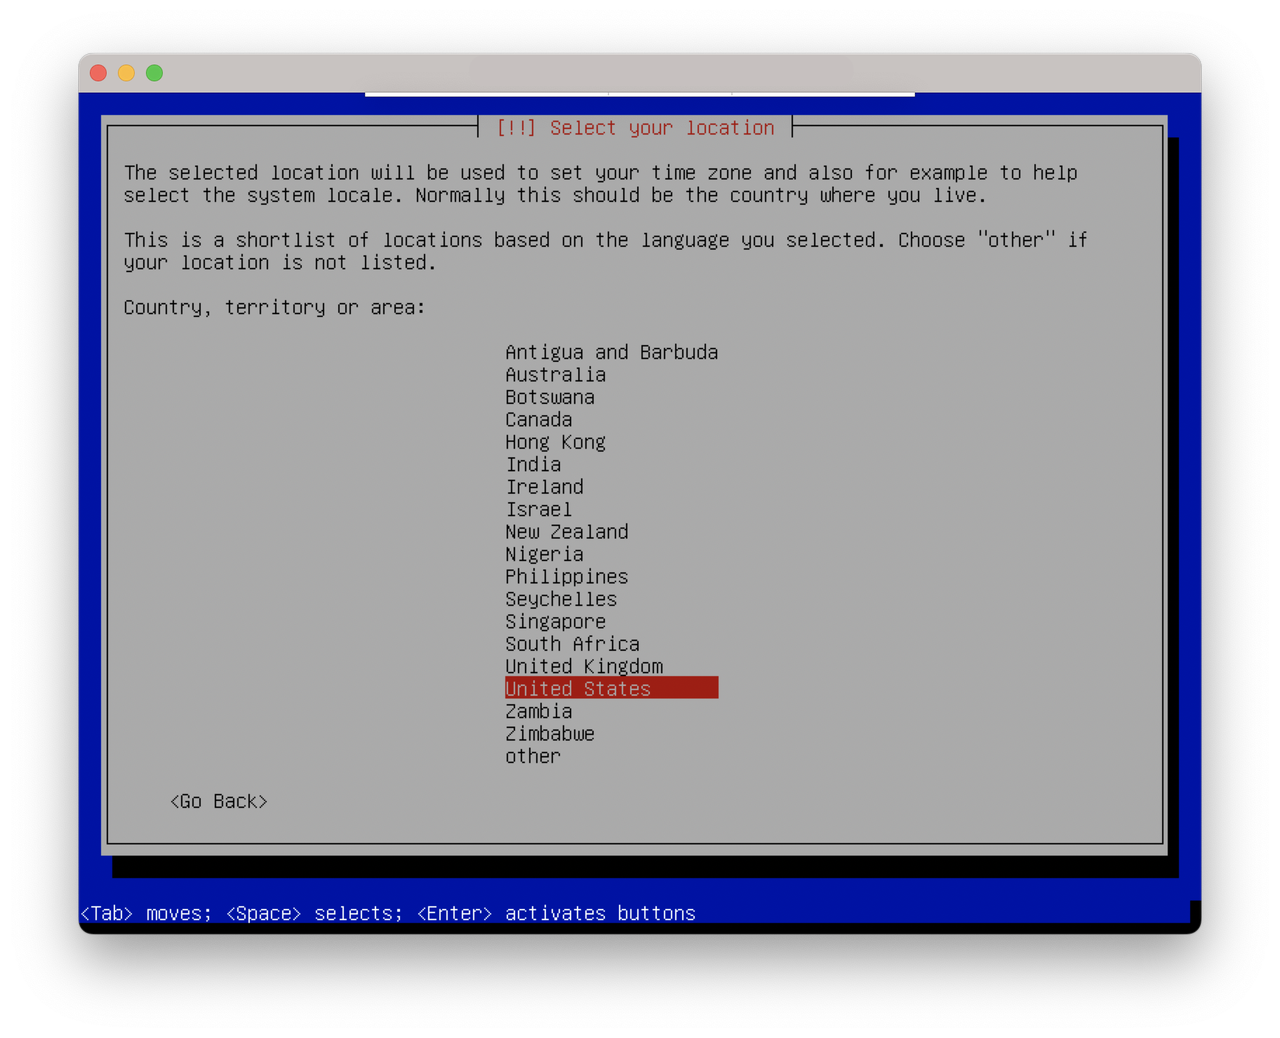
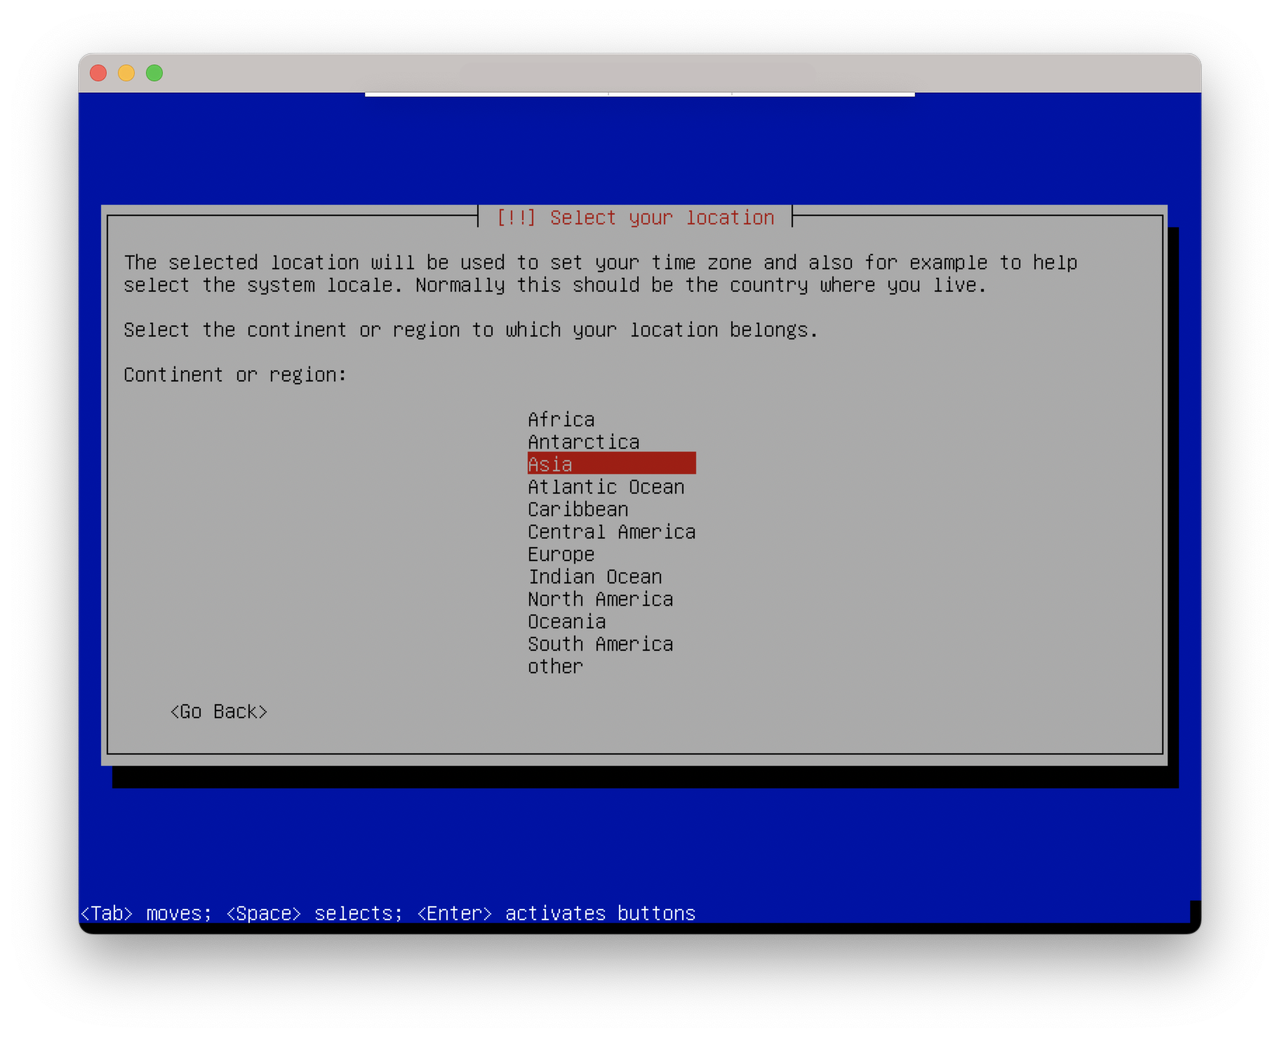
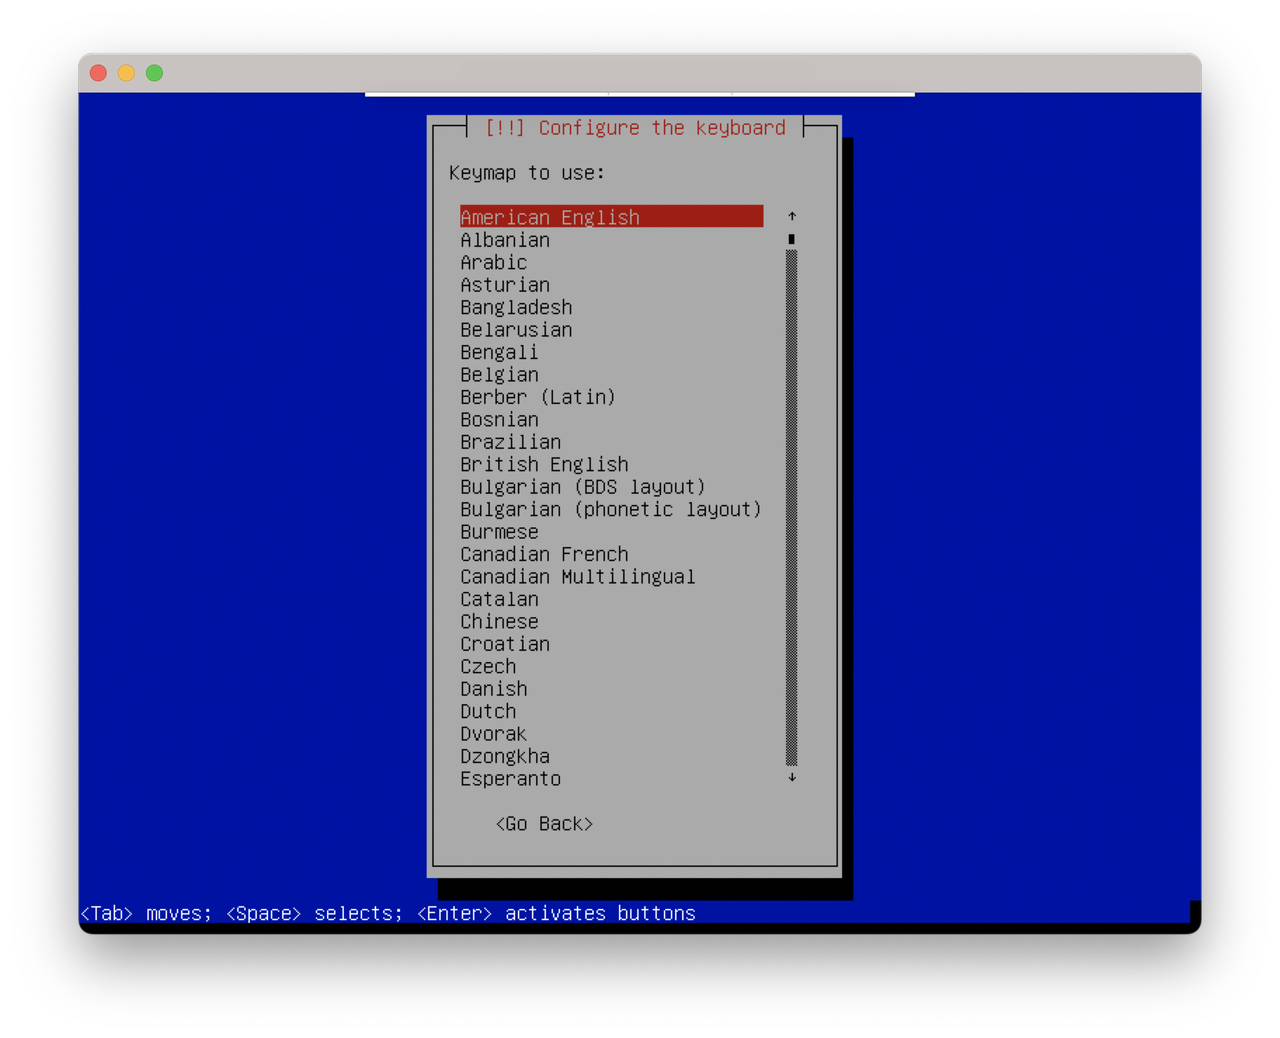
What does your keyboard look like? Distinguish QWERTY from QWERTZ and all the other interesting layouts.
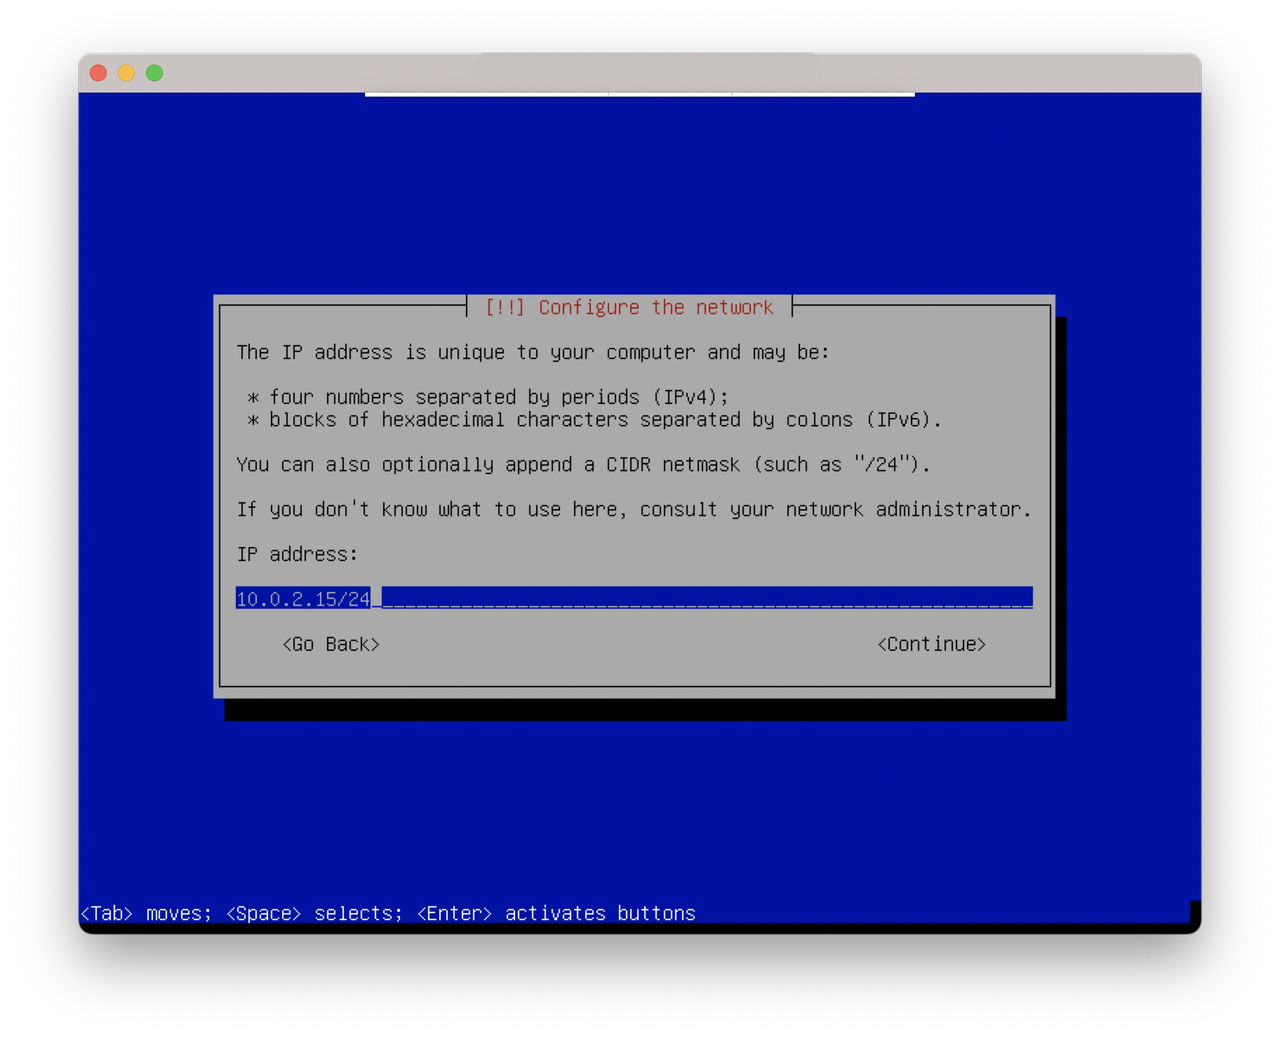
Your server should be set the IP address in static mode.
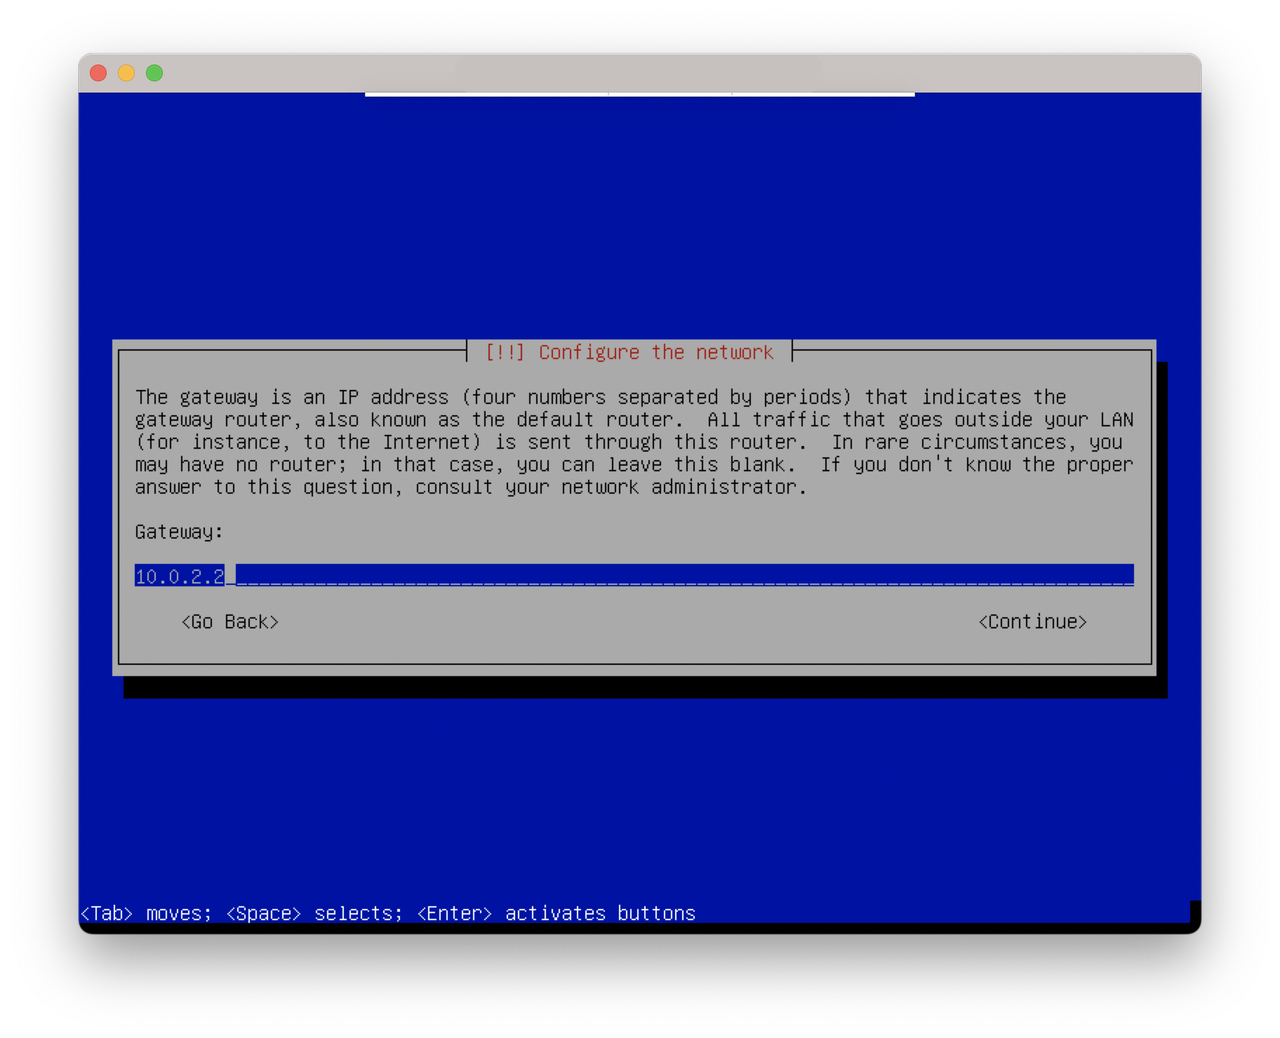
You also need to set the Gateaway IP address.
Then, you need to set the Name server IP address.
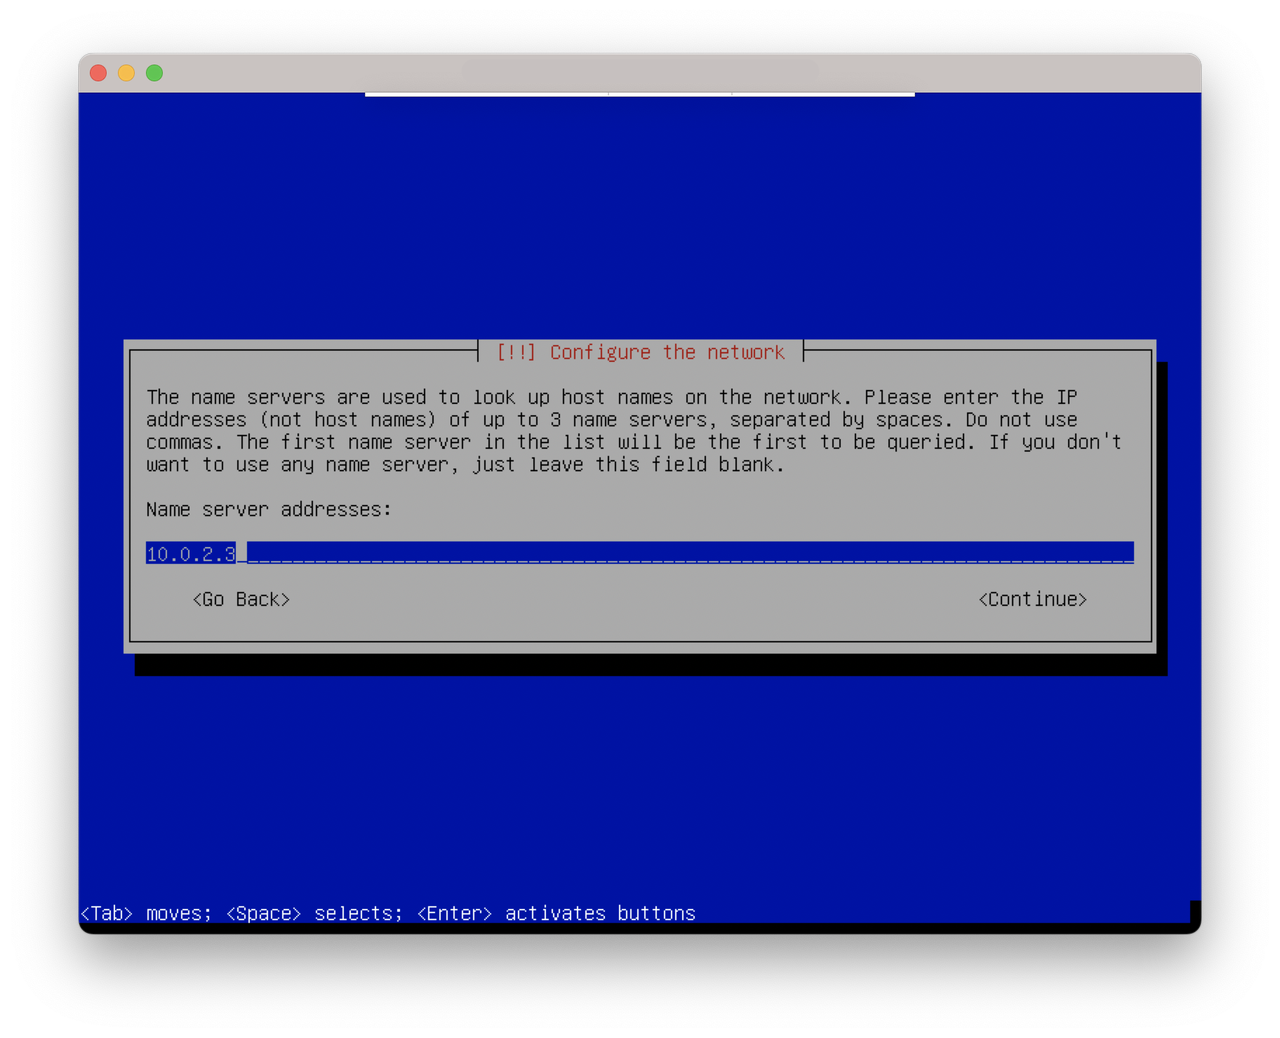
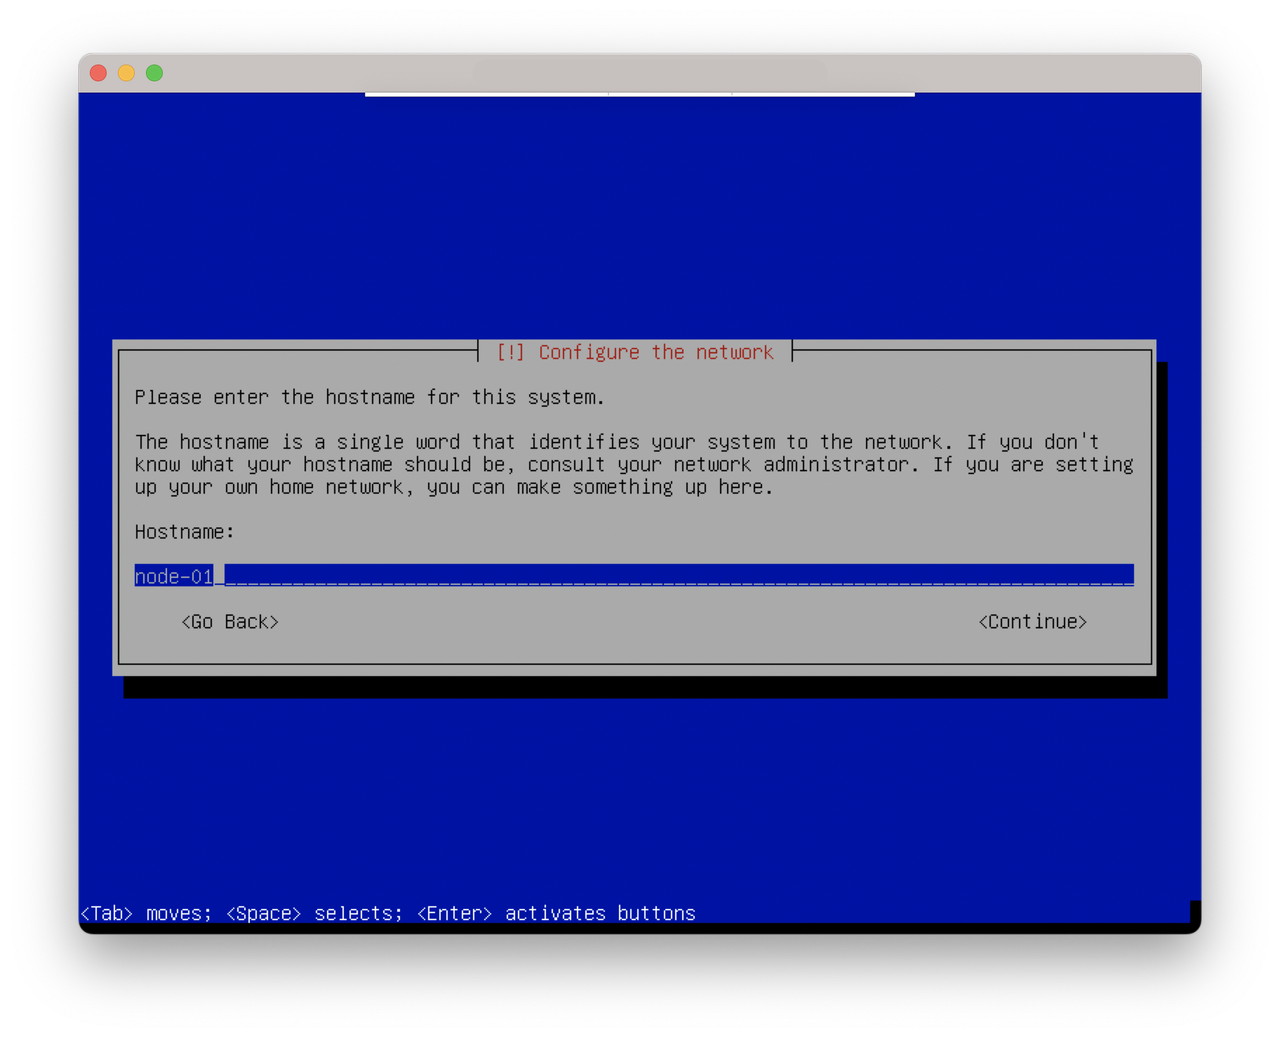
By convention, every server will have hostname prefixed with node-xx. For the first node, you should use node-01 hostname. For the second node, you should use node-02 hostname. And so on.
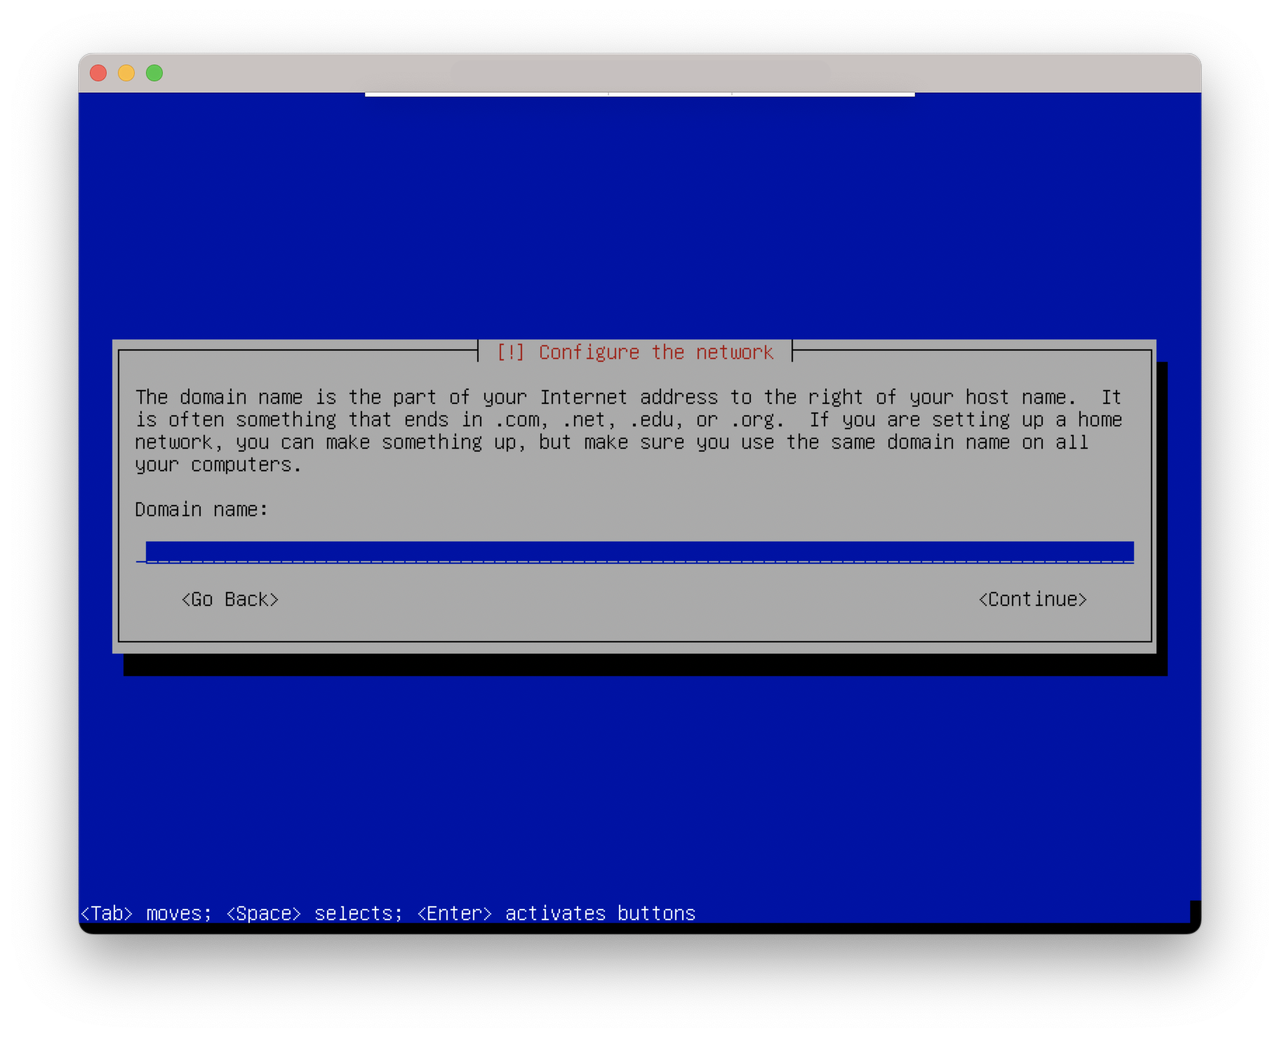
If your local network provides a domain, you can fill in the value here. If not, let it empty.
In the next step, you need to provide the default OS user password.
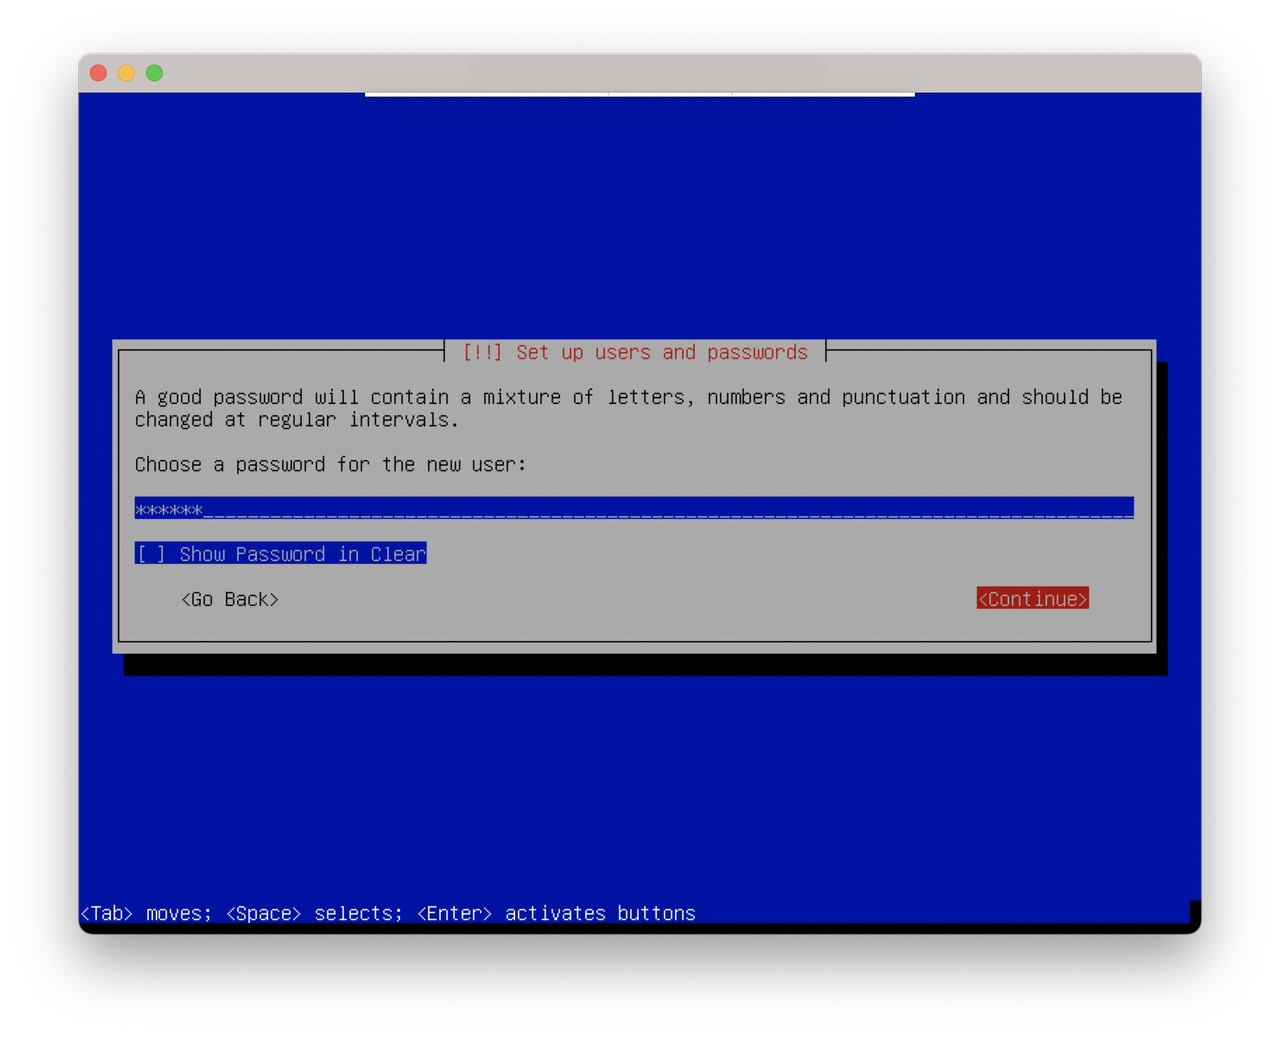
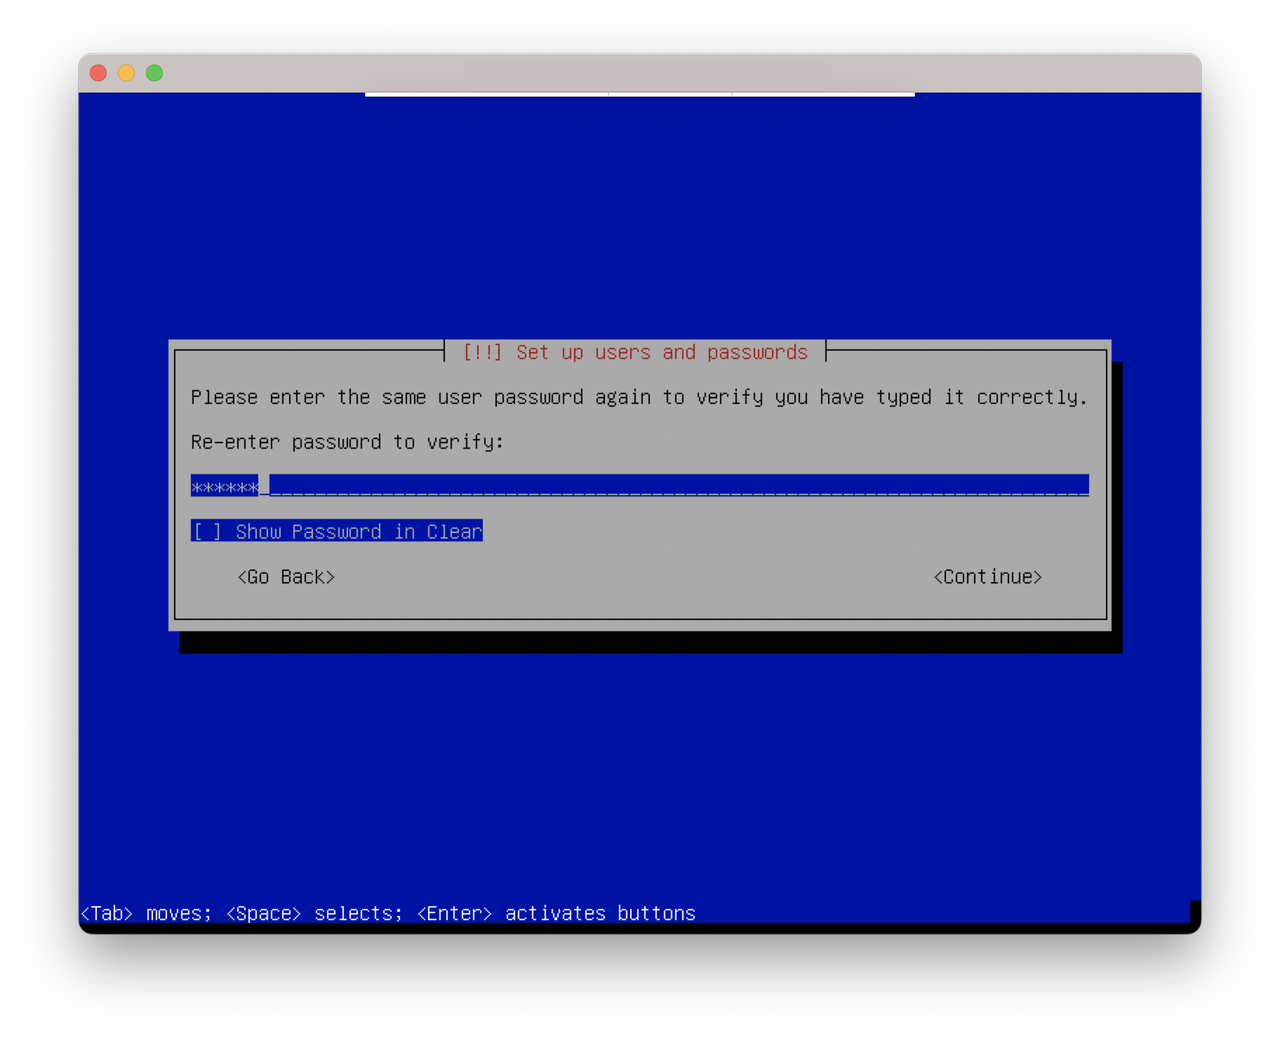
Re-enter the password once again.
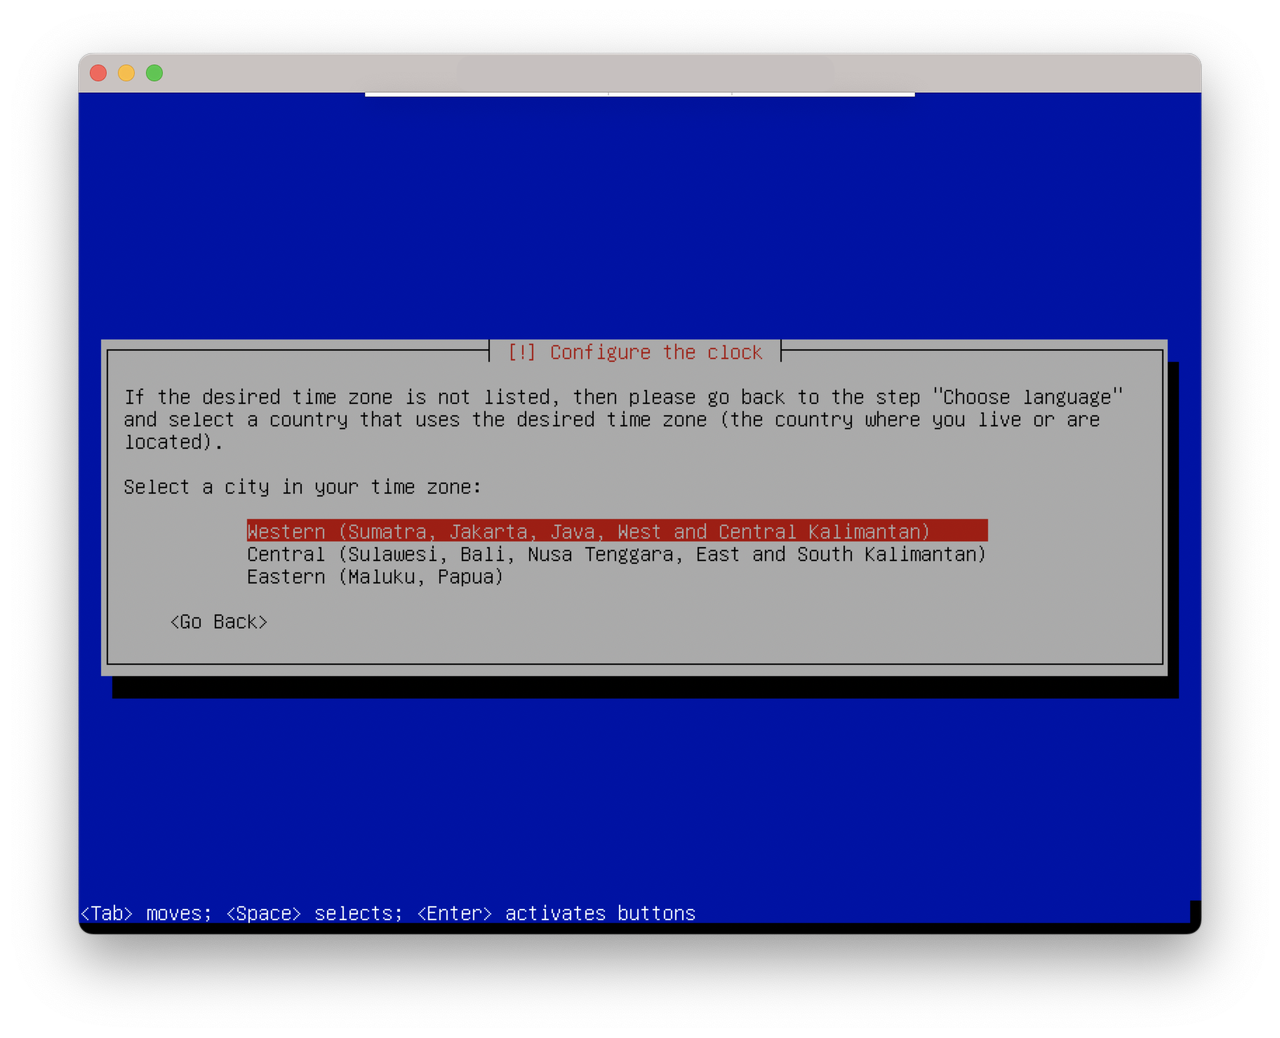
Next, you need to select your location timezone.
