

WARNING
This page has not been translated yet and is shown in English. A localized version is coming soon.
VMware to Cockpit
This guide covers migrating a VMware VM into a KVM/libvirt host fleet managed by Awanio Cockpit. Cockpit is the multi-host aggregator: you pick which host in the fleet the VM should land on, and Cockpit places it there.
It continues from the shared steps in the User Guide — make sure you have enabled CBT (for warm migration) and signed in to Condensa first.
Before you start
- Complete Enable CBT and Sign in to Condensa from the overview.
- Have a reachable Cockpit endpoint and a root-organization service account (Client ID + Client Secret) for it. See the Cockpit integration guide for how Condensa talks to Cockpit.
- Unlike the CEP path, you do not take a VMware snapshot by hand — for warm migrations Condensa creates and cleans up the snapshots for you.
Add the Cockpit provider
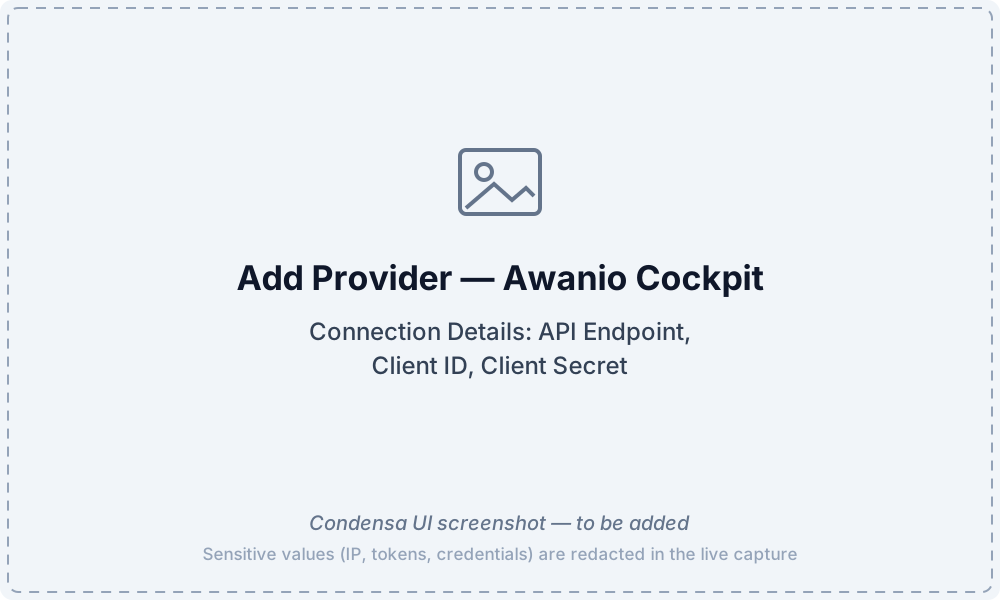
Click the Provider tab, then click the Add Provider button. In the form:
- Vendor — choose Awanio Cockpit.
- Name — a display name (e.g.
Cockpit Jakarta). Add an optional Label to tell apart several Cockpit providers, and an optional Description. - Under Connection Details:
- API Endpoint — the base URL of the Cockpit API, e.g.
https://cockpit-host:7771/api/v1. - Client ID — the service account name (access key). The service account must belong to the root organization; org-scoped accounts are rejected.
- Client Secret — the secret shown once when the service account was created.
- Connection security — three modes, in descending order of trust:
- Verify certificate — the endpoint must present a certificate signed by a trusted CA. Use this wherever a real certificate is installed.
- Pin this endpoint — only this server's key is accepted, with no CA and no DNS name required. This is the right choice for a self-signed endpoint or a bare IP address. Condensa shows the fingerprint it sees; compare it against what the server itself reports, then accept it. Because the public key is pinned rather than the certificate, an ordinary renewal does not break the pin.
- Skip verification — any certificate is accepted, including an attacker's. Throwaway labs only.
- API Endpoint — the base URL of the Cockpit API, e.g.
- Click Create Provider.
The new provider appears in the Providers list.
Create the migration
Click the Migrations tab, then click the Create Migration button. The wizard has five steps.
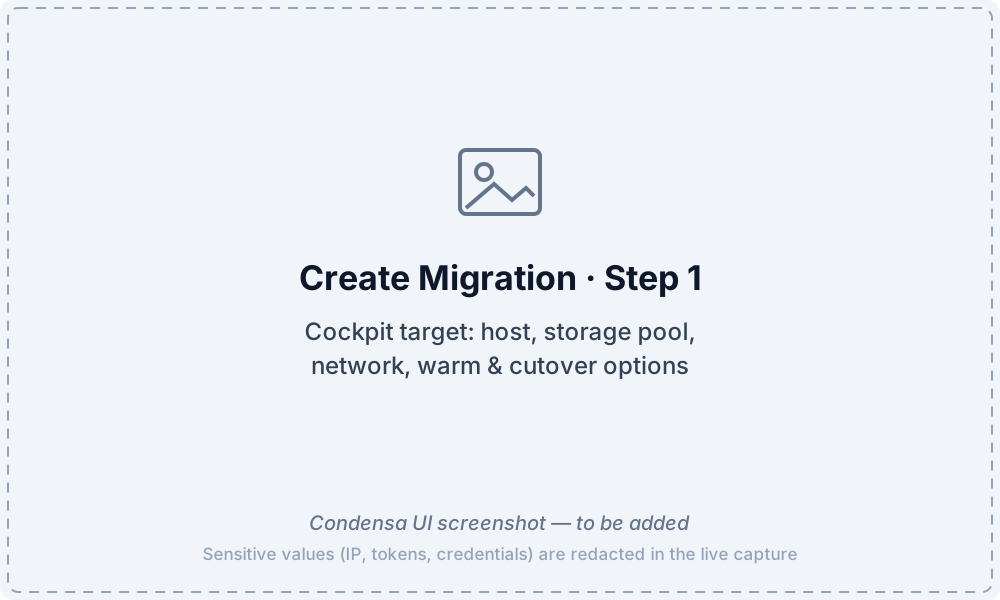
Step 1 — Basic Info and target
- Enter a Migration Name and an optional Description.
- Target Provider — choose the Cockpit provider you just created.
- Target Host — choose the host in the Cockpit fleet that should receive the VM. (This selector is specific to the Cockpit path.)
- Target Storage Pool (optional) — where the migrated disk is written. Leave blank to use the host's default image pool.
Click Next.
Step 2 — Source provider
Select the VMware source provider and its Datacenter, then click Next.
Step 3 — Select VMs
Pick one or more VMs to migrate. Each row shows its power state and, for VMware, whether CBT is on — a running VM with CBT off (and no snapshot) can't be migrated warm. Click Next.
Step 4 — Mapping
These settings apply to the whole migration, and each VM's card below can be given its own answer instead.
- Name Prefix (optional) — prepended to every migrated VM's name. Rename a single VM on its card.
- Give the migrated VMs new MAC addresses — leave off to keep each interface's source MAC, so the guest's own network configuration still applies. Turn it on for a copy that has to run alongside a still-running original on the same layer 2.
- Power on the VM after migration — leave it unchecked to keep the migrated VM powered off until you start it yourself, which avoids an identity conflict with a source that is still running.
- Keep the final snapshot on the source VM — VMware sources only. Leaves a warm migration's last checkpoint on the source as a restore point; it grows a delta disk for as long as it exists, so delete it when you no longer need it.
- Manual cutover — a warm migration copies the disk, then waits for you to shut the guest down from inside the OS at a moment you choose, instead of powering the source off itself. Turn it on for a guest that needs its own shutdown sequence, such as a database. Cold migrations are unaffected: the guest is already off. Each VM's card below carries the same power, cutover and keep-snapshot switches, so one guest can be left powered off, given a manual cutover, or be the only one whose final snapshot is kept, without changing the rest.
Networks are mapped on each VM's card. Every interface the source VM had is listed there by its source network; choose the target network it lands on. An interface left unmapped is not created, and the card says so — leaving one out is how you keep a copy off a network where it would clash with the still-running source. When the selected VMs share source networks, Per-network mapping above the cards sends a source network to the same place on every VM at once. To give a VM an interface its source did not have, use Attach an interface on on its card.
Warm or cold is not a choice here: a running guest migrates warm and a powered-off guest migrates cold, decided per VM. Warm needs CBT enabled on the source (see the overview); a running guest without it cannot be selected.
Step 5 — Review
Review the migration. The summary shows the target Cockpit host, storage pool, network, and every per-VM change. Go Previous to adjust one. If it is OK, click Create Migration.
The migration appears in the list with a Preparing status.
Start and monitor the migration
- Click the action menu (three dots on the right of the row), then select Start Migration.
- The status changes to Running and progress increases toward 100%. For a warm migration you'll see the phase move from the initial data copy to the final cut-over.
- On completion the status changes to Success. Click the migration name to see per-disk detail and the log.
The migration list, status badges, and detail view are identical in layout to the CEP guide — only the Target Provider column reflects your Cockpit provider.
If a warm migration stops after the source was powered off
At cutover Condensa powers the source VM off itself, unless Manual cutover is on. From Condensa 1.9.3, if the migration then fails, is canceled, or is cut short by a Condensa restart before the target VM is requested, Condensa powers the source VM back on and says so in the migration log. Once the target VM has been requested, the source stays off even if the migration fails, because the copy may already exist on the target: check the target and remove any copy there before you start the source. A source you shut down yourself for a manual cutover is never started by Condensa.
Verify on Cockpit
Open the Cockpit dashboard, go to the target host, and confirm the migrated VM is present and (if you chose to power it on) running. Attach or adjust the NIC there if you left the network as None during migration.
Screenshots for the running/verify steps
End-to-end warm screenshots (Running → Success → the VM on the Cockpit host) are captured against a Cockpit build that includes the warm-ingest data plane. They will be added once that build is deployed. The wizard and provider screenshots above are from the live UI.